Most families have at least one box of this: prints from before digital cameras, a carousel of slides from a projector nobody owns anymore, a manila envelope of negatives from a drugstore photo counter that closed decades ago. Digitizing it isn't complicated, but a few early decisions (which method, what resolution, what format) are much easier to get right the first time than to redo. Here is a walkthrough of all three methods.
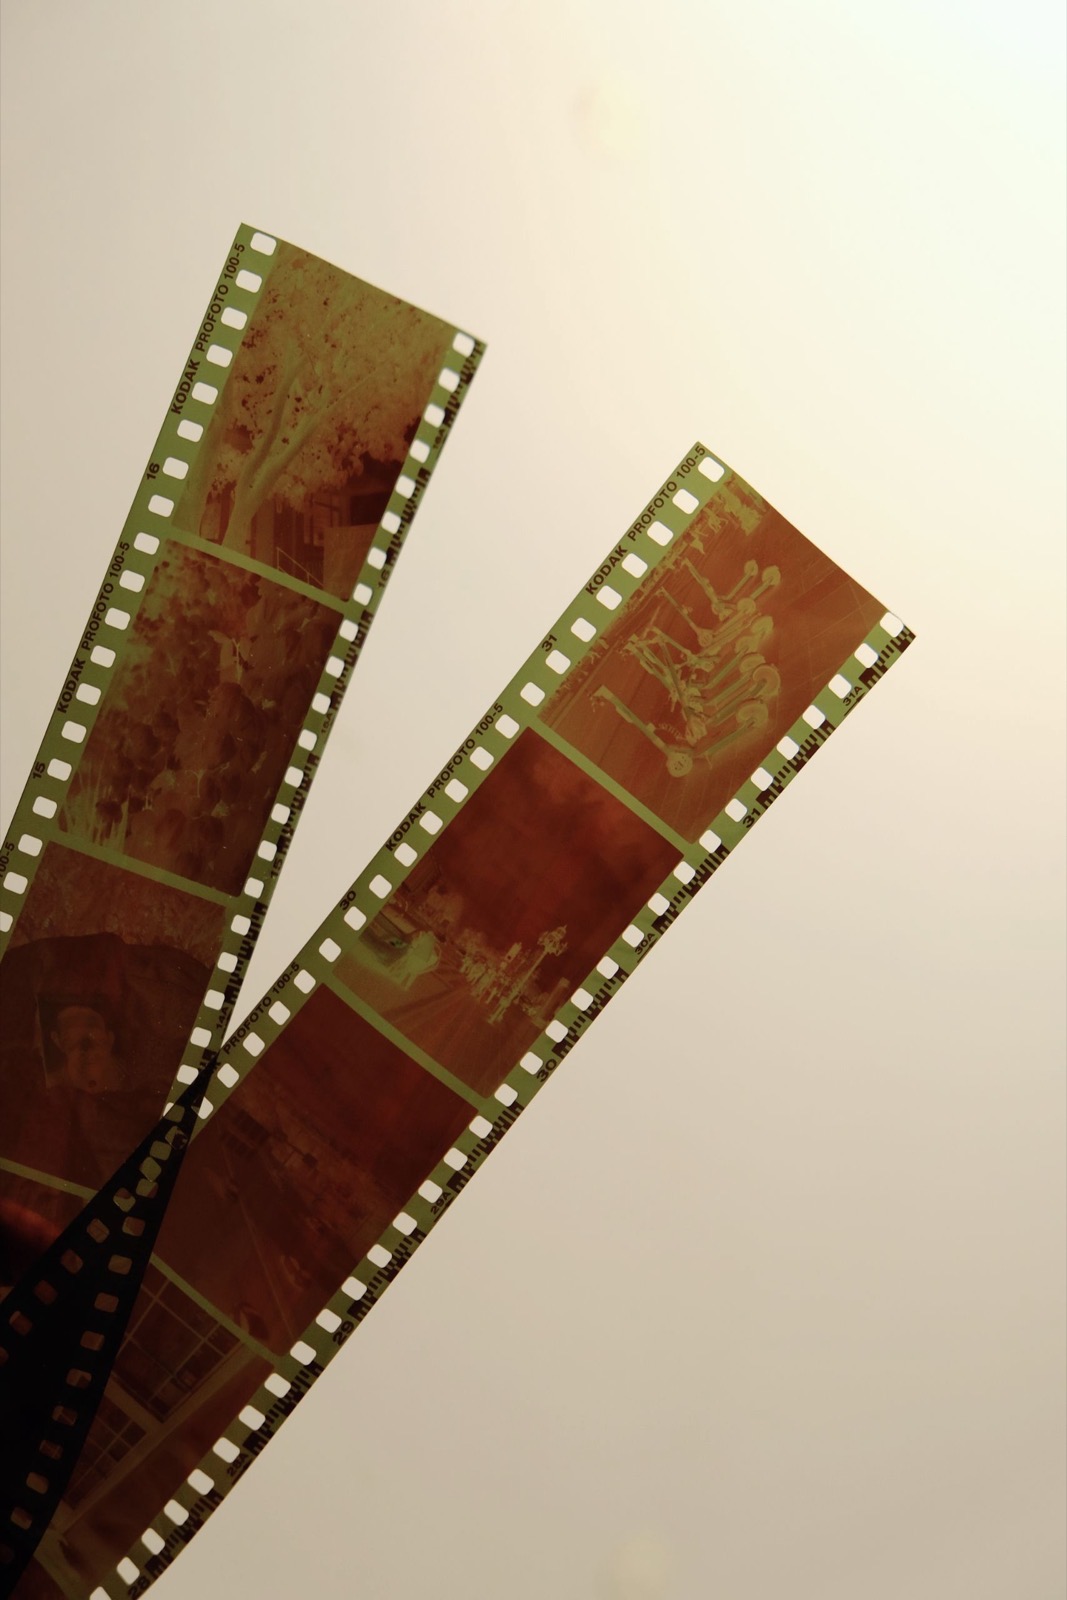
Three ways to digitize, and when each makes sense
Flatbed scanner
Best middle ground of quality and cost for loose prints. Slower, better results.
Phone scanning app
Fastest option for prints. Lower fidelity, fine for sharing, not for the archival copy.
Mail-in / photo-shop service
Best for slides, negatives, and large batches that need dedicated equipment.
A flatbed scanner you own or can borrow
For loose prints, a flatbed scanner is the best middle ground most people have access to. Quality is clearly better than a phone camera, since even a modest consumer scanner captures more consistent detail and color than a photo of a photo. The cost is zero if you own one or can borrow one from a library or relative, or the price of a basic used unit. The tradeoff is time: scanning one print at a time is slow, which is why people put this project off. It's worth the time for anything irreplaceable.
A phone scanning app for loose prints
The built-in scanning tools on iOS and Android (or a dedicated scanning app) can digitize a stack of prints fast, with no hardware beyond the phone in your pocket. The cost is fidelity: you're limited by the phone's camera, ambient lighting, and glare off the print's surface, and results are noticeably softer than a flatbed scan. This is fine for a quick share in a family group chat. It shouldn't be the permanent archival copy of a print you can't replace.
A mail-in or local photo-shop scanning service
For slides and negatives specifically, and for large batches of prints where doing it yourself would take weeks, a scanning service is usually the right call. The reason is equipment, not convenience: negatives and slides need a light source shone through the film from behind, plus software built to invert and color-correct the result, capabilities a standard flatbed scanner typically doesn't have. Photo shops and mail-in services have dedicated film scanners built for exactly this, and for a box of decades-old slides, that's usually a better and faster outcome than improvising your own setup.
Resolution: how much detail to capture
For standard prints, 600 DPI is a reasonable general-purpose target, enough to crop in or print larger later without obvious loss, without files so large they're a pain to store and back up. For slides and negatives, aim higher, typically 2400-4800 DPI, because the original is much smaller than a print and needs more resolution to capture the same detail.
As a rule, scan at the highest resolution you're comfortable storing. Rescanning later means digging the originals back out, and handling them again is itself a small risk.
File format: don't over-compress
Two reasonable choices, depending on how much you value having a perfect archival master versus manageable file sizes:
- TIFF is lossless, with no compression artifacts, and the closest thing to an exact digital copy of what the scanner captured. Files are large, but TIFF is the safer default for anything irreplaceable.
- High-quality JPEG is a reasonable middle ground for most families, with minimal compression. Don't save at a low-quality setting to save space: heavy compression throws away detail permanently, and only a rescan brings it back.
What to do with the physical originals afterward
A common assumption is that once something's scanned, the print or slide should get thrown away to save space. That is a personal call. Digitizing doesn't require disposing of the original, and plenty of people keep the physical copies whether or not a digital version exists.
What a good scan changes is the stakes. Before scanning, a damaged or lost print is often the only copy of that moment. After a careful scan that is backed up somewhere, the print is no longer the sole copy, so a fire, a flood, or decades of fading matters much less.
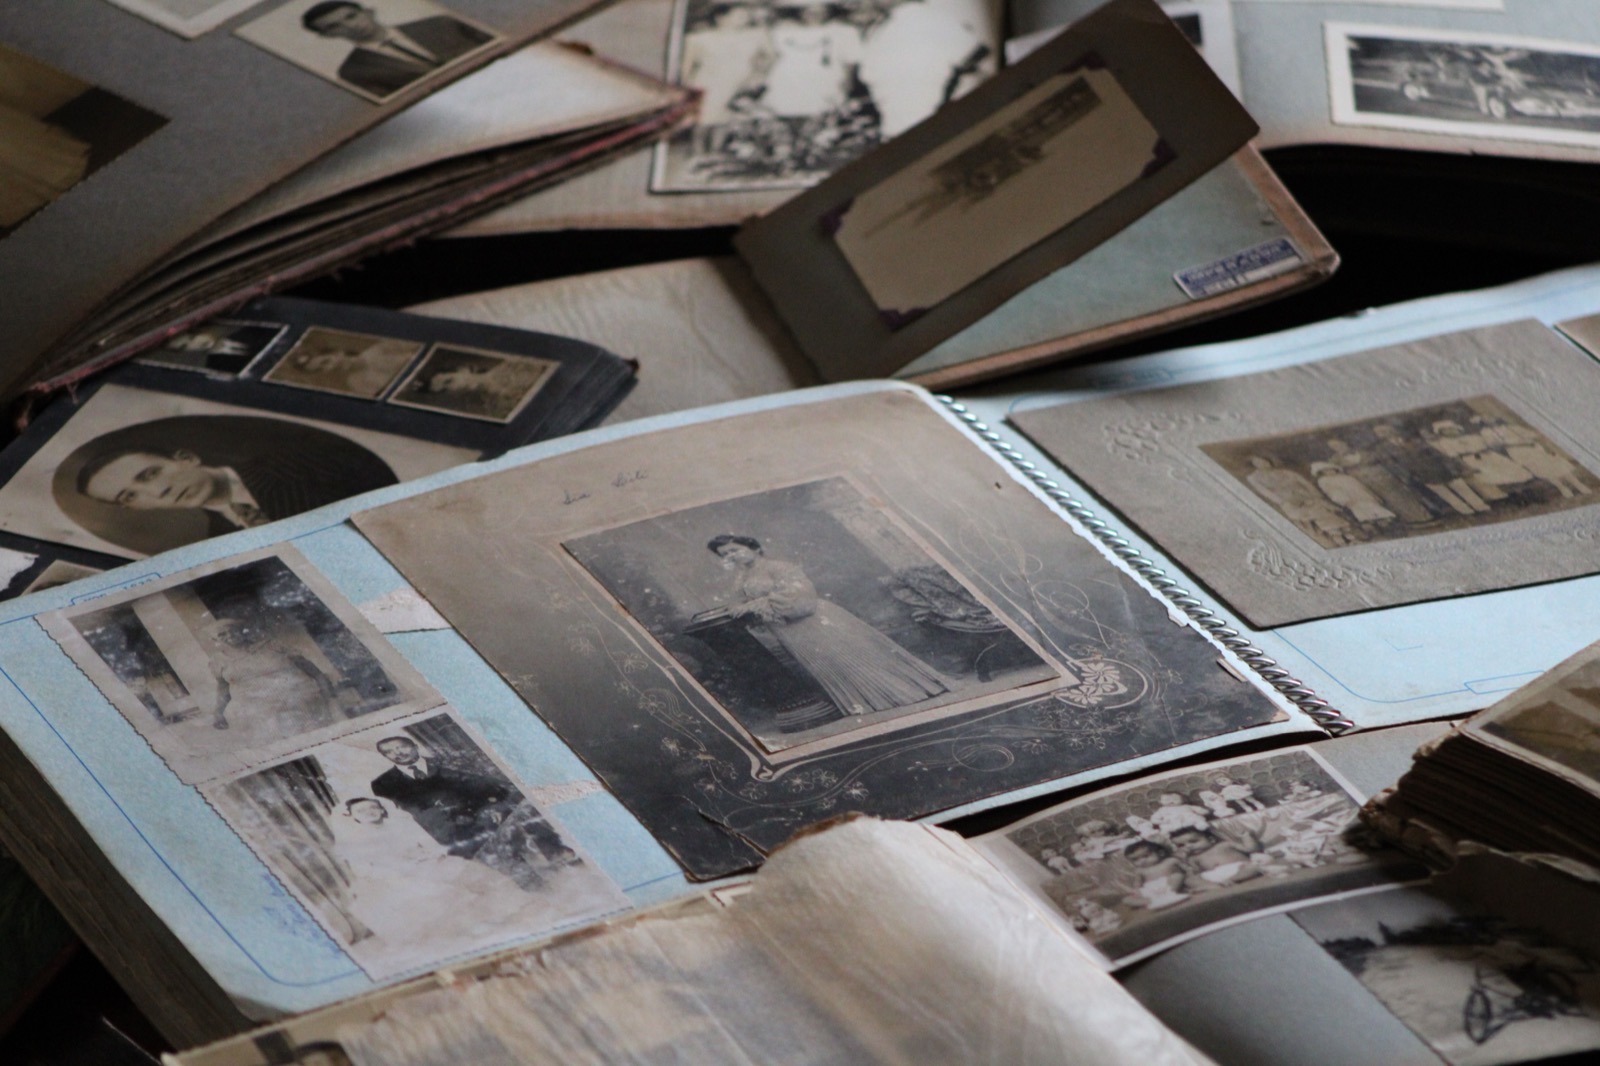
Where the digitized files go next
Once you have digital files, whether from a scanner, a phone app, or a service that mailed them back on a USB drive, they should join the rest of your family's photo archive using the same folder structure as everything else, not sit in a separate "scanned" folder forever. A dated folder like 1987/1987-06 Grandma's Slides keeps them findable alongside photos from every other decade. We cover the full system for that in our guide to organizing decades of family photos.
Once digitized prints join the rest of a large archive, they need the same backup as every other file in it, because a scan is only as safe as the drive it lives on. If you don't have a backup plan yet, see the 3-2-1 backup rule.
FAQ
What resolution should I scan old photos at?
600 DPI is a solid general target for standard prints: enough detail to crop or print larger later, without unwieldy files. For slides and negatives, go higher, typically 2400-4800 DPI, since you're extracting far more detail from a much smaller piece of film.
Should I use a scanner or my phone?
A flatbed scanner gives better, more consistent quality and is worth it for anything you consider archival. A phone scanning app is faster and good enough for casual sharing, but the result is lower fidelity: fine for a group chat, not the permanent digital record.
Can I digitize slides and negatives myself?
A basic flatbed scanner usually isn't built to do this well, negatives and slides need a light source behind the film and dedicated software that most flatbeds lack. A dedicated film scanner can do it yourself, but a mail-in or local photo-shop scanning service is the more practical option for most people.
Should I throw away the prints after scanning?
That is a personal call; digitizing doesn't require disposing of the original. A good, backed-up scan means the print is no longer the only copy, so losing it later is a much smaller risk.
What file format should I save scans as?
TIFF if you want a lossless archival master and don't mind larger files. High-quality JPEG with minimal compression is a reasonable middle ground for most families, just avoid heavy compression settings, which throw away detail you can't get back later.